Hell Pass
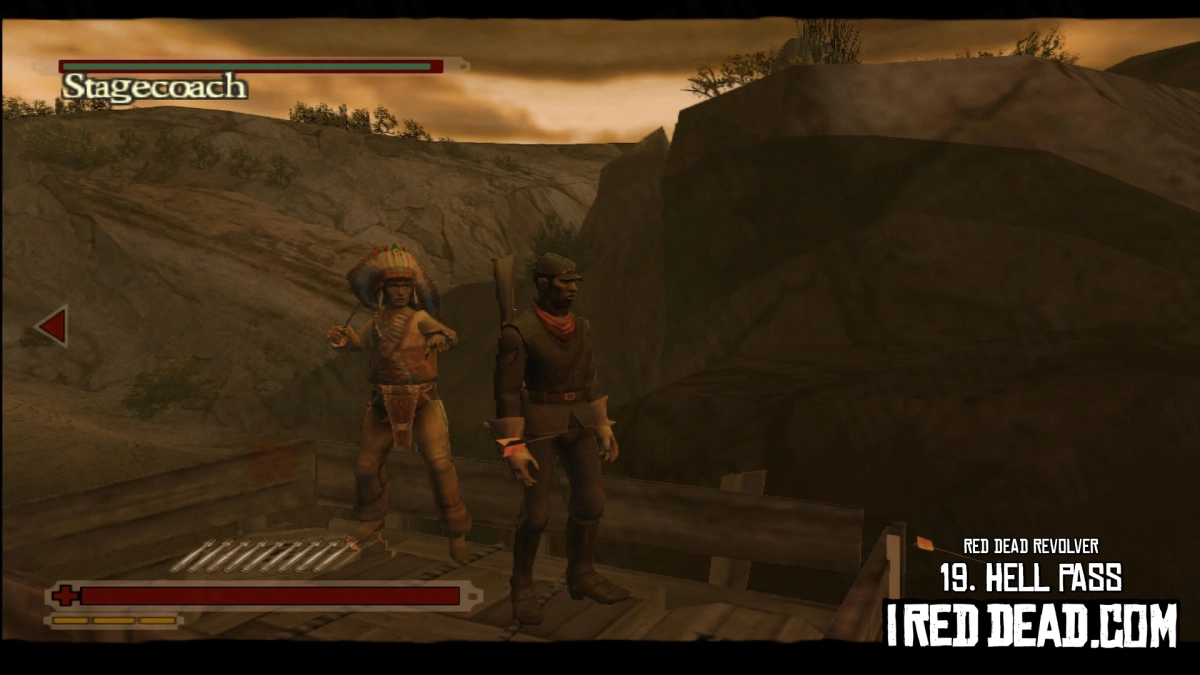
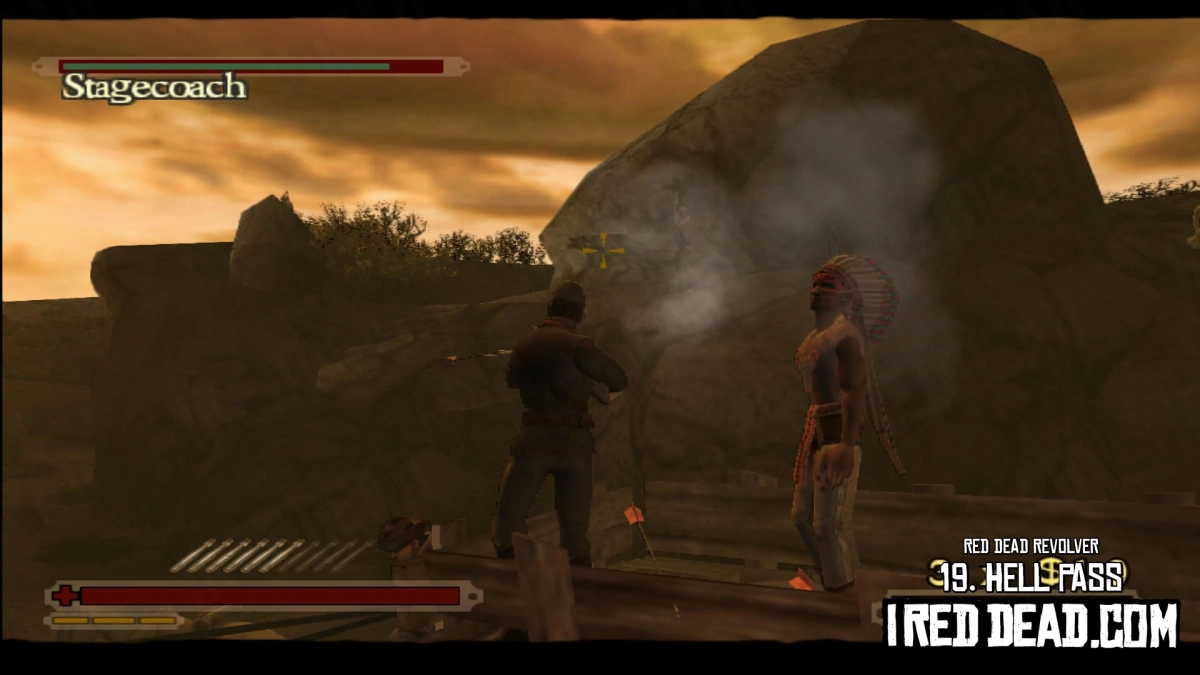
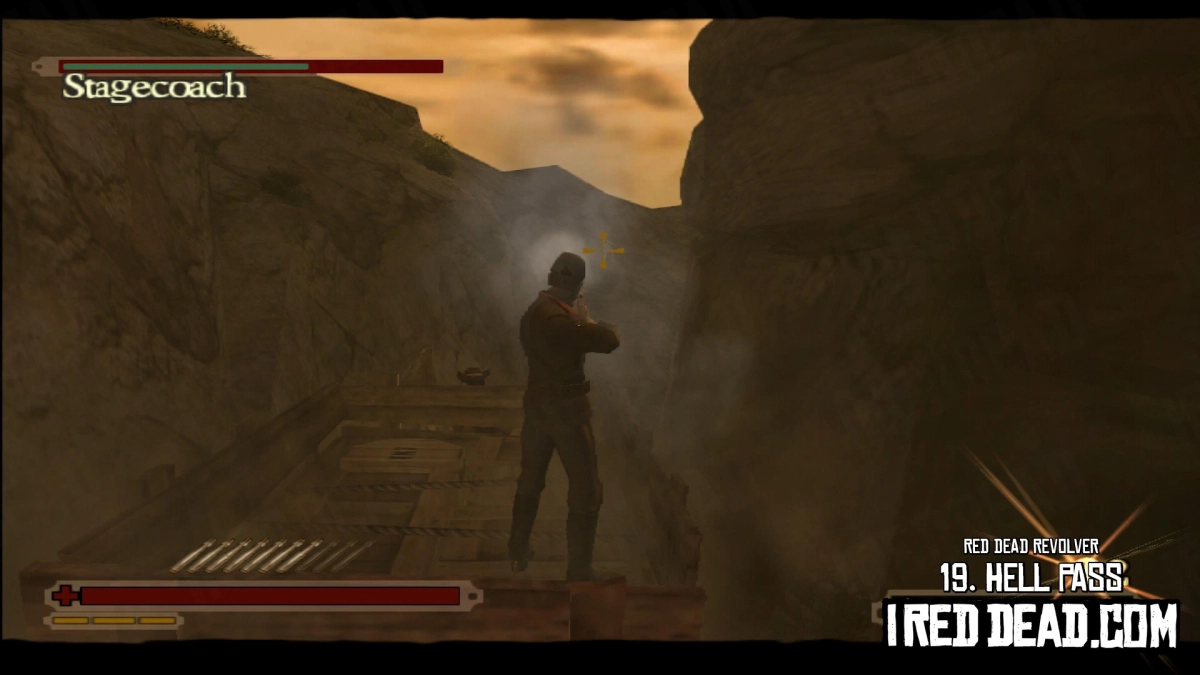
Buffalo Soldier continues to defend the TNT wagon through the narrow, winding canyon of Hell Pass.
Chapter 19
"Hell Pass is a place of natural beauty and wonder, and might be renamed something kinder in more peaceful times."
You're once again in control of Buffalo Soldier for this level. This actually marks the last time in the game you'll control anyone besides Red.
You must successfully pass at least 3 of these 4 targets.
- Accuracy: 66%
- Damage Taken: 60%
- Time: 4:00
- Best Combo: $200
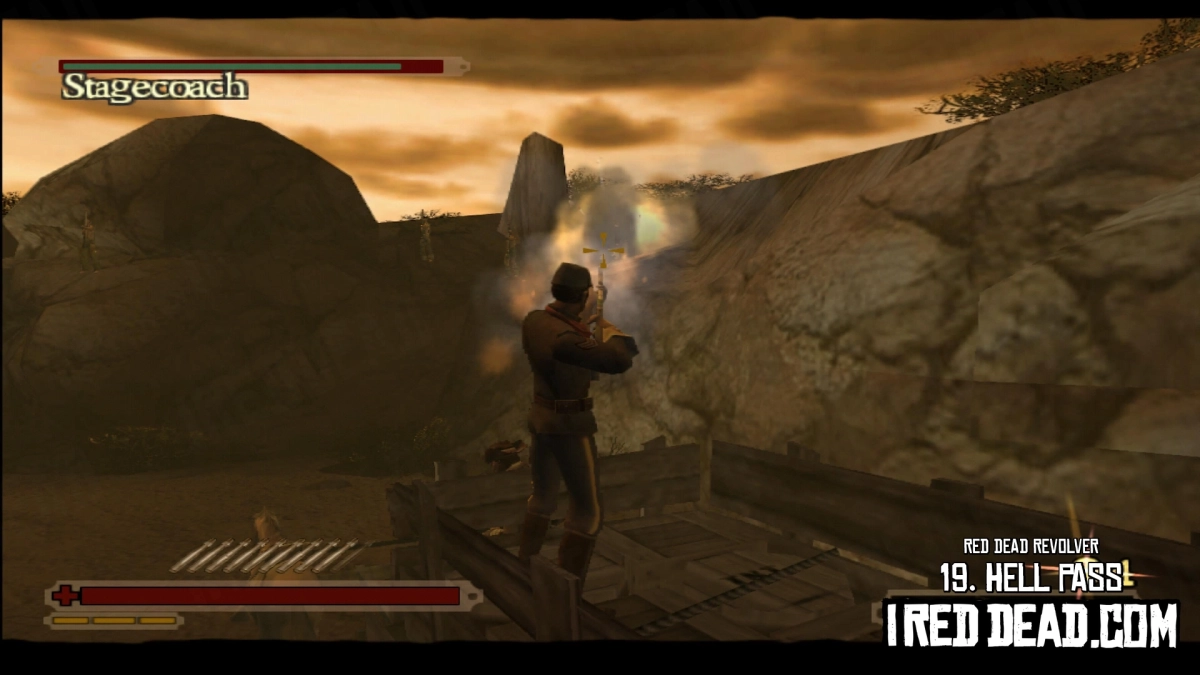
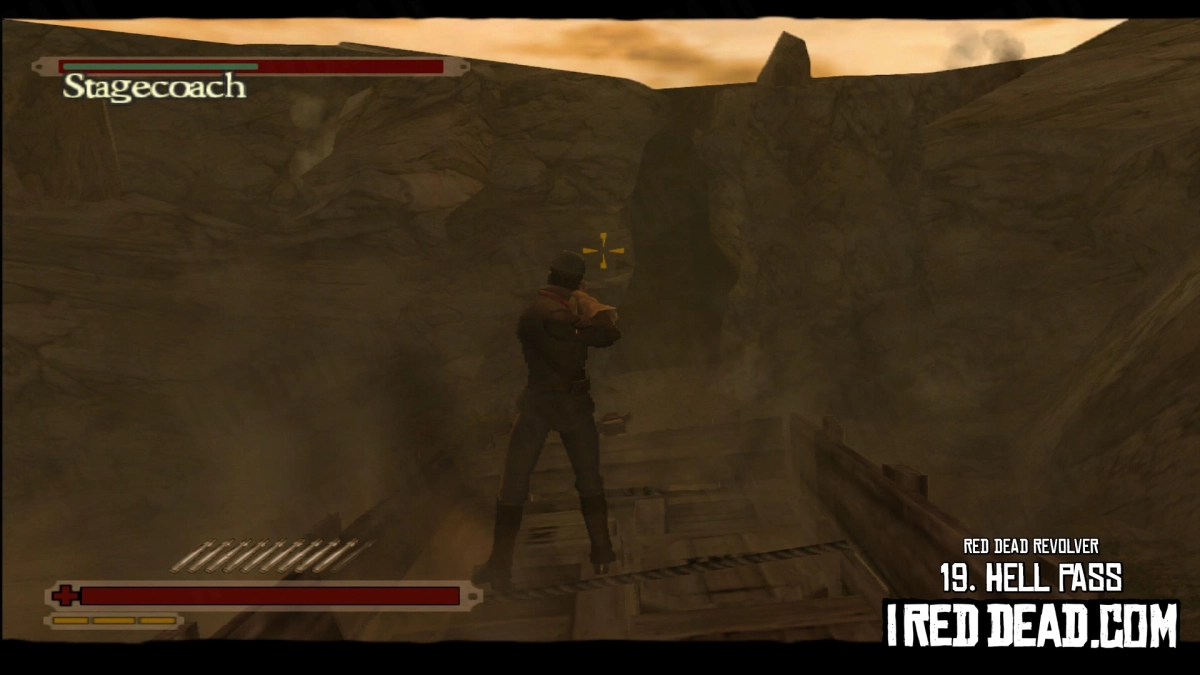
This level continues following the completion of the previous Stagecoach level, so there's no intro cutscene. This time you'll primarily be facing forward in the direction of travel as you'll be driving through a canyon filled with Native American enemies.
You'll begin to spot their silhouettes standing on the cliffs as you start to approach, so feel free to open fire immediately. There are a lot of enemies in this level. If you're going for the excellent rating you'll need to be a bit careful about your accuracy, but there are enough enemies to be able to get a $200 combo and you don't really control the time it takes to get through the level, so if you can avoid damage, you should be ok with three of the objectives despite any poor accuracy.
There are four enemies you can shoot on the cliffs before you've even entered the canyon, two on the left and two to the right, so take them out using the zoom on your rifle to save any drama as you get closer.
As you enter the main canyon, more enemies will become visible. If you're quick, you can take most of them out before they get a chance to open fire on you. Learn to recognise their shape because given the fading light, they are difficult to see properly. There are some bushes that look similar, but in general, if it looks somewhat human, shoot it.
The enemies once again have larger hitboxes than normal, so firing a shot near them will usually result in a direct hit and your rifle is powerful enough that every hit is an instant kill.
The secondary fire on the rifle works better on this level because a number of the enemies are closer together, so when your Deadeye bars are full, press R2 to launch an explosive round at the ground near some enemies and you can sometimes take out up to 3 at once. In fact, firing the exposive round at random parts of the canyon as you travel can be a good way to keep your combo streak going as you can take out enemies you might not even be able to see yet.
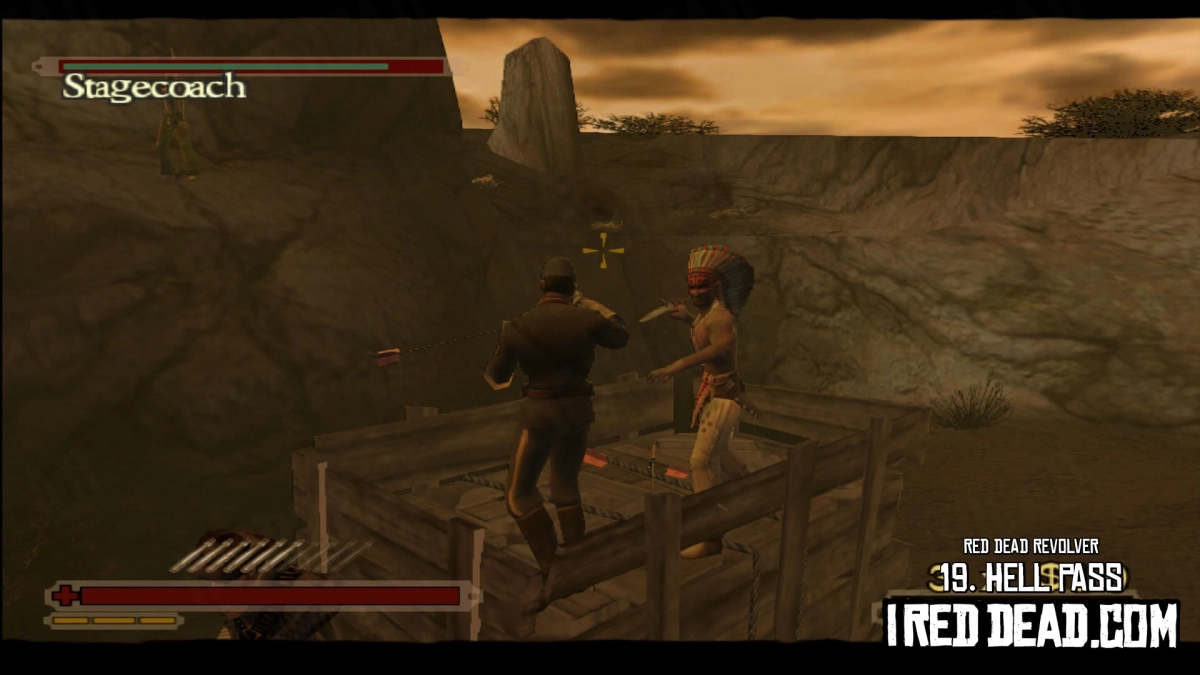
Once you get into the canyon, the enemies will begin opening fire with their bows and arrows. They generally will target you this time, although your primary objective is to still protect the stagecoach. The enemies will often give away their positions when you see arrows flying across in front of you. Keep moving and strafing to try to avoid the majority of their fire.
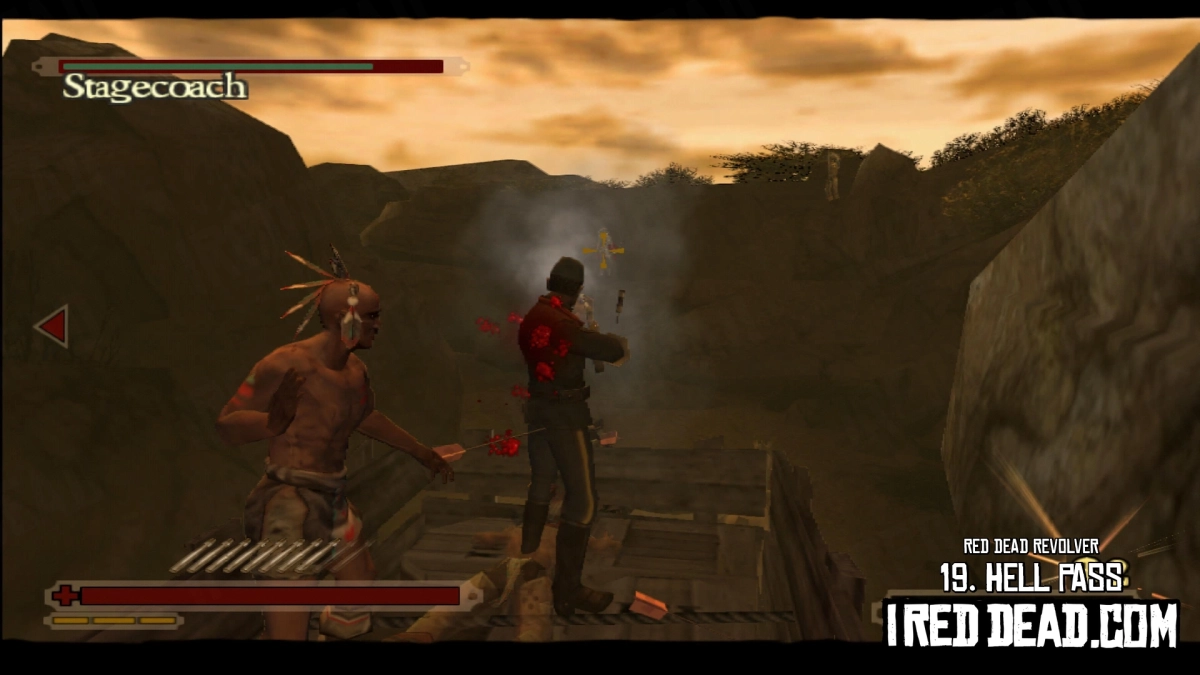
There are a number of points throughout the level where you'll pass closely by the cliff face and often an enemy will run and jump from it onto the back of the wagon. Ideally you want to focus on any enemies closer to the road first of all, but if they do manage to make it onto the wagon, shoot them, or use the rifle's bayonette to stab them (L1 + Circle) before they can cause you any damage.
Enemies throughout the level, particularly those who jump down onto the stagecoach or road can drop health bottles when they die, and although you can't leave the wagon to collect them, I do believe (not confirmed) that it's possible to shoot the bottles which will allow you to gain the health boost. That said, the stagecoach is the main concern and you'll fail the level if it gets destroyed regardless of how much health you have.
Be aware that some of the Native Americans will fire flaming arrows at you and the wagon, which can stun you and cause more damage than usual. If you spot anything on fire, make it a priority target.
The level itself isn't too long and you'll know you're at the end when you start to go down hill and the canyon opens up, heading towards a cave.
There are a large number of enemies here so you'll want to start taking them out the second you see them. If you have any Deadeye explosive rounds remaining, it's a good time to use them up. There are enemies on the ground and on the cliffs all over the area, including high up at the top ahead.
Take out all of the enemies and when everything is clear, the stagecoach will head through the cave and your job is done.
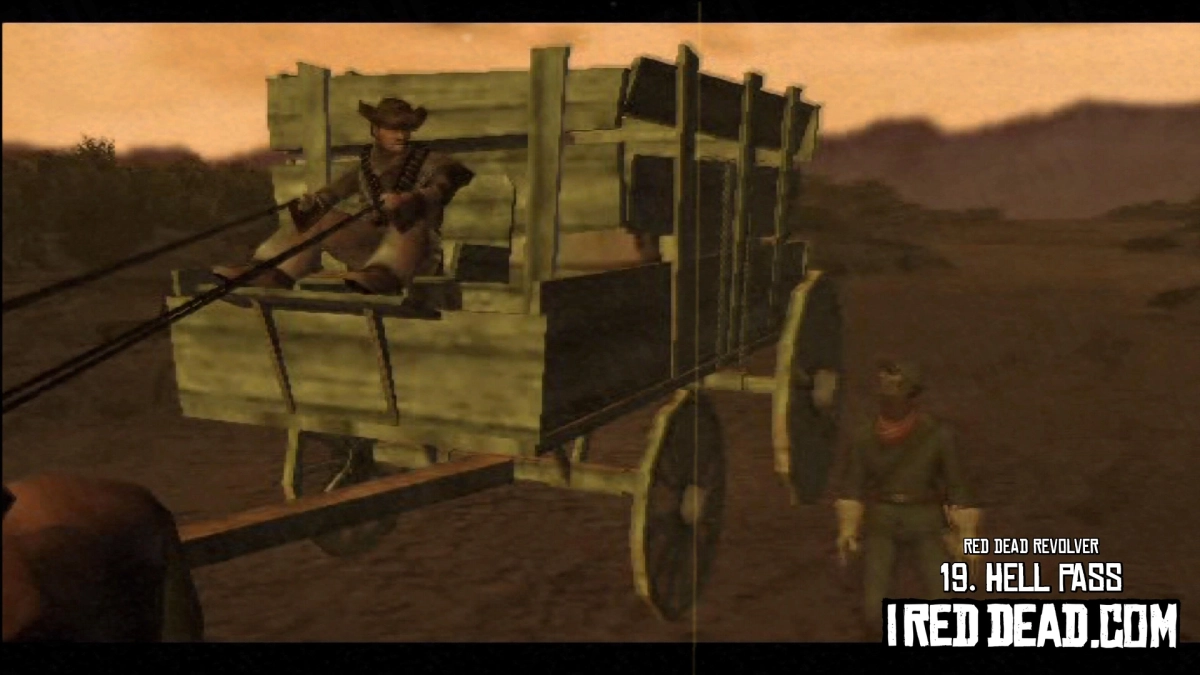
Buffalo exits the wagon as the driver explains "Brimstone is just about a mile or so down that away. Sorry I can't take you any closer, but there are some desperate folks in need of these supplies".
"Much obliged, Mister. I'll make sure to tell the Governor you helped me. There may even be a reward in it for you" responds Buffalo.
"If it's all the same to you, I'd just assme Governor Griffon don't even know who I am" says the driver, clearly weary of the Governor. "Good luck to you, soldier" he continues, as the wagon sets off and Buffalo begins the walk to Brimstone.
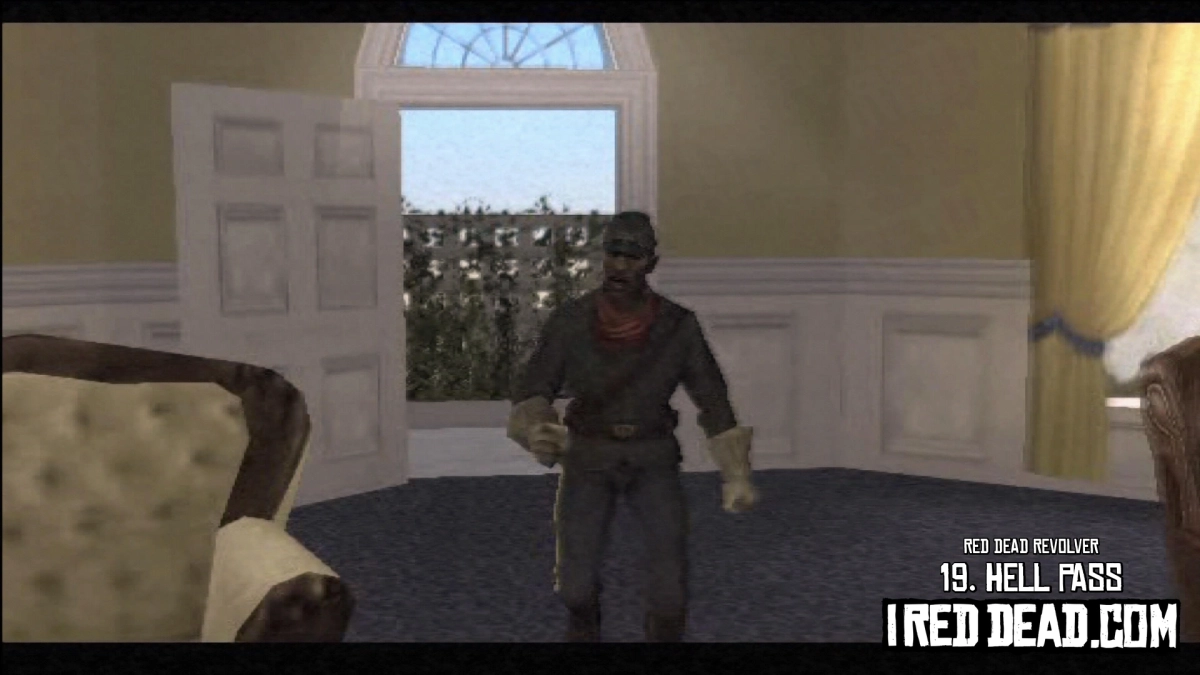
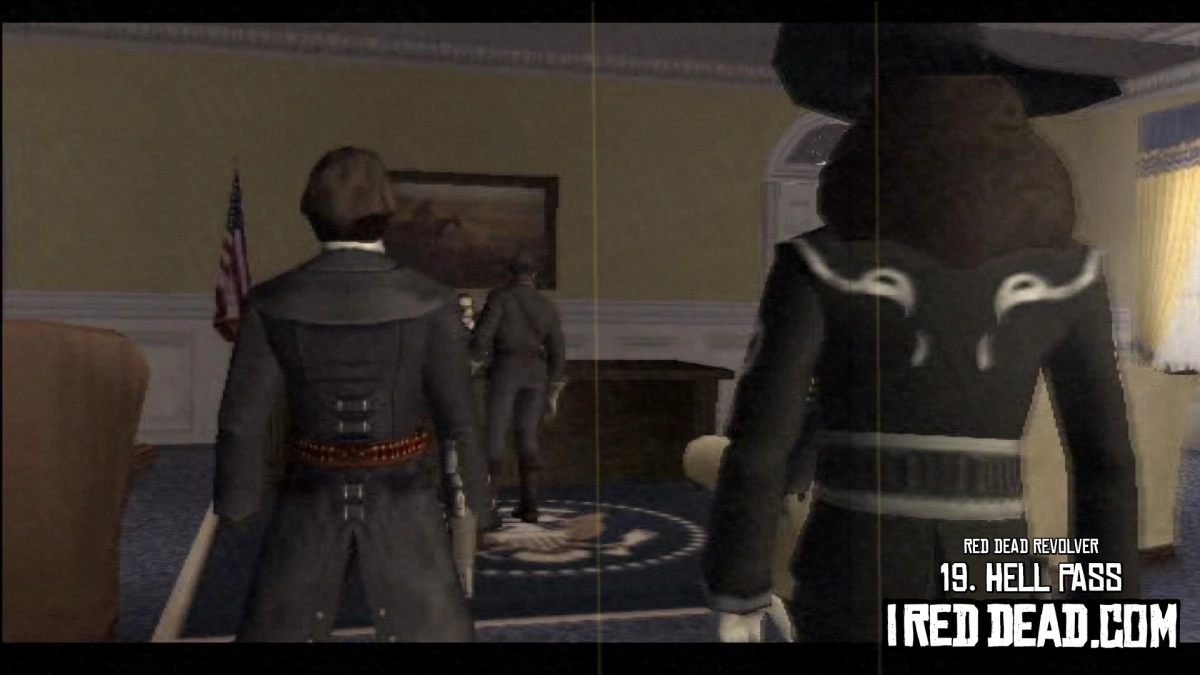
A short time later, we see Governor Griffon in his office. Buffalo runs in through an open door, calling out "Governor, you got to call General Boden right away, sir!".
"Hehe, who let you in here, Soldier?" asks the Governor.
"There's a renegade general on your territory. His name is Diego. He's running a gold mine and he's using slave labor. It's a job only the U.S. Army can handle, sir! He has an army and a fort, too" explains Buffalo, frantically.
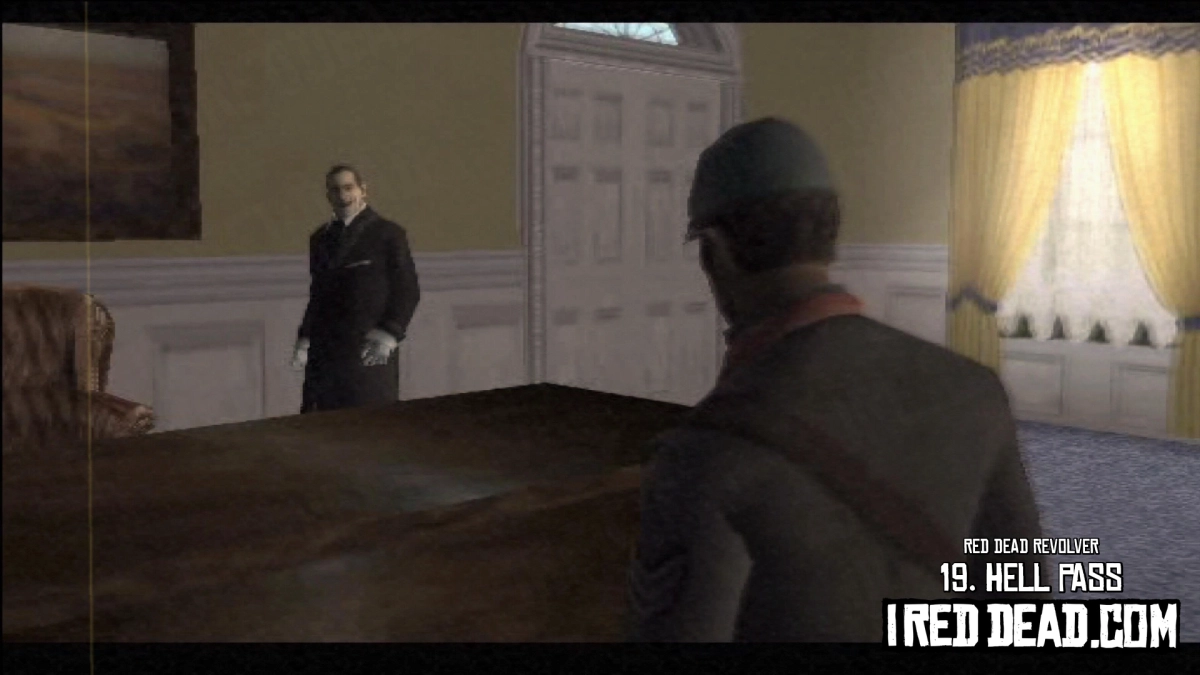
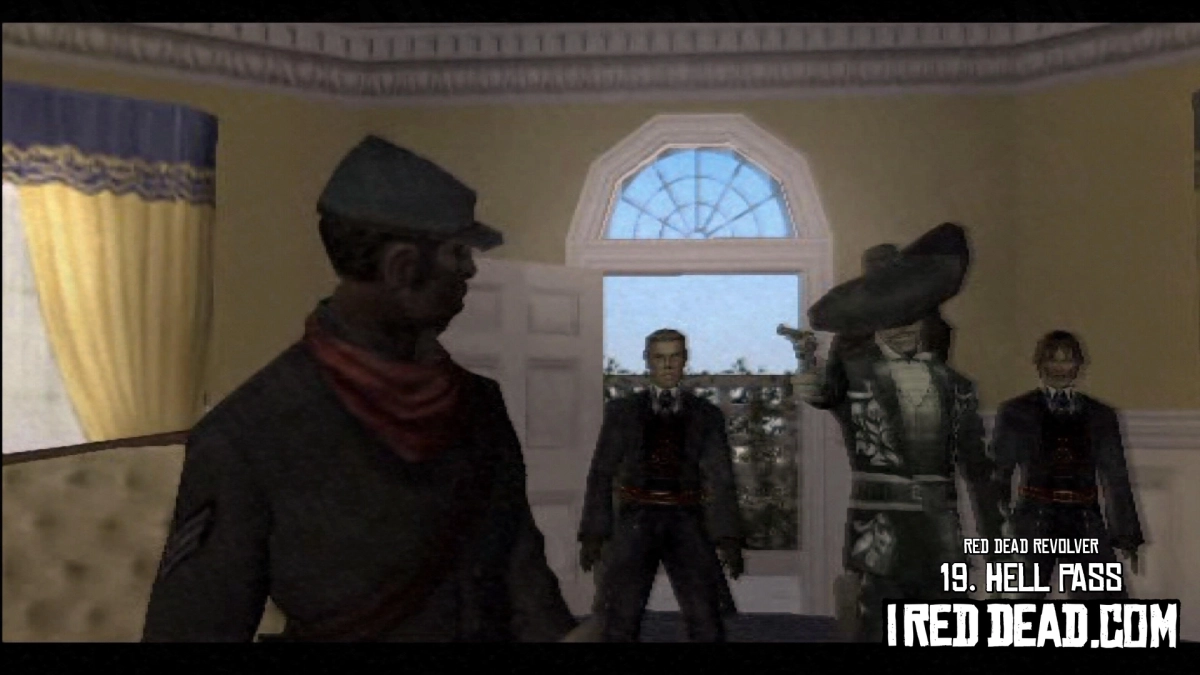
During the explanation, three men walk into the office behind Buffalo.
"Well, thank you soldier. Mr. Diego is one of my biggest contributors. I'm sure this is all a simple misunderstanding" says Governor Griffon with a big smile on his face. "But Mr. Kelley here, he's going to take good care of you".
The camera then cuts to Buffalo who turns around to face the three men, one of which, Mr. Kelley, pulls out a gun and points it right at Buffalo as the screen fades to black.
The following rewards are unlocked on the score screen after passing the mission.
- Completion
- Bounty: Standing Snake - $650
- Good Rating
- Showdown Character: Buffalo + Shop Item: "Deer Antlers"
- Excellent Rating
- Showdown Character: Gabriel Navarro + Shop Item: "Ornate Bottle"
This mission is not available in Bounty Hunter Mode.
Next Mission
